November 30, 2009
November 25, 2009
November 10, 2009
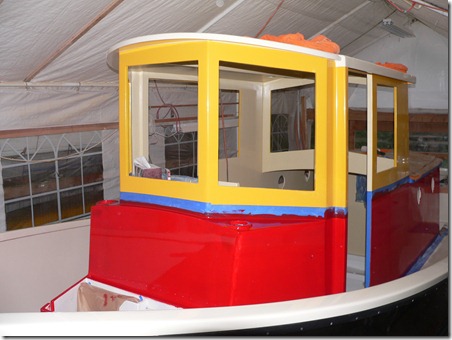
Red!
All the colors are on the boat now. I think they look nice 🙂
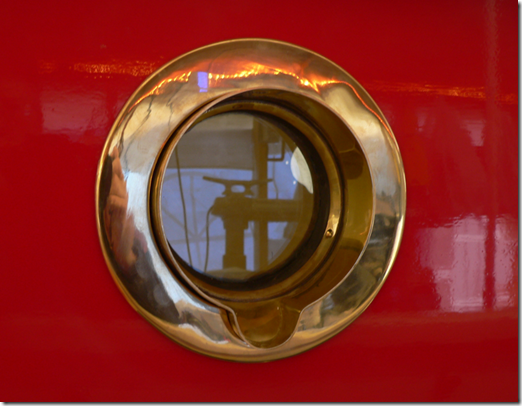
Two more coats of red, and I can take the masking tape off and install the windows, hatches, and portholes. Just in time, too, since the tent is starting to leak. I’ll try to get by without buying another tarp for the top.
November 1, 2009
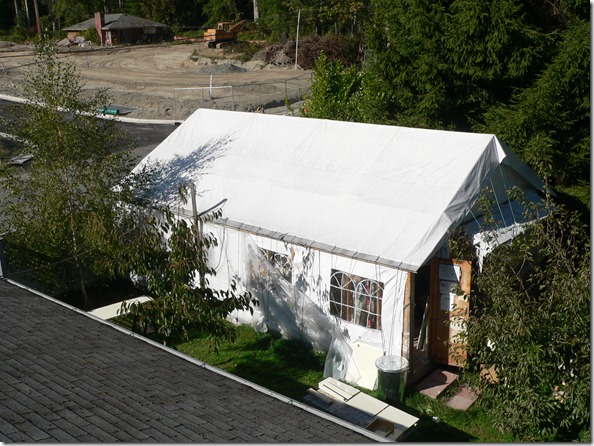
View of the Boatbuilding Shed
Sweeping the roof last weekend to get ready for the rainy season, I saw this unusual view of the boatbuilding shed. Hard to imagine a 25-foot boat in there, huh?
When this is done, I’d like to build a real shop in that spot. Concrete walls, skylights, big rollup door on the street side. 220 Volt wiring for the welder and pressurized air plumbed in. Maybe a small greenhouse on the South side for solar heating and tomatoes. I have an urge to build some small boats next 🙂
Side Cleat Reinforcements
A lot of distractions these past few weeks have kept me from doing any big projects, so I’ve been attaching hardware and minor jobs like that.
I was concerned that a hard pull on my side cleats (like tying up with a too-short line and being hit with a large wake) might split my gunwale, so I made these bronze plates as reinforcements. Now, any outward force on the cleat will be transferred down to the hull instead of ripping off the gunwale (I hope). The material is 1/8 inch silicon bronze plate I bought at Alaskan Copper for this purpose.
I made a cardboard template and traced it onto the bronze plate. I cut out the parts freehand on my metal-cutting bandsaw, put them in my bench vise and bent the flanges over on the dotted line with a 5-pound hammer. 
I pre-drilled the cleat holes through the gunwale, then clamped the bronze part in place and marked the big hole for the through-hull, then drilled the hole a little oversized. 
Clamped the part in place and marked for the cleat mount holes with the drill bit I used to drill the holes in the wood. 
Then removed the part and drilled the holes in the bronze, starting with a 1/8 inch bit and working up the the finish size. 
I ground down the corners with a 5-inch grinder and 60-grit disk, freehand. Then sanded with the small dual-action sander, down to 220 grit. I’m not trying for a really fine finish here – they will tarnish nice and dark soon enough. 
My main concern is that I have three different metals here – zinc from the galvanized cleat, stainless bolts and nuts, and the bronze plate and through-hull. I may look for bronze bolts to replace the stainless. At the least, I’ll put a nylon washer between the stainless nut and the bronze plate. I need to epoxy-seal the bare wood where I drilled the holes before doing the final installation.
Added – I don’t know if this helps, but here is a rough cross-section of the area, and how I think the forces will be transferred away from ripping off that inside 1×2. 


