Boatbuilding Blog

June 10, 2010

Hanging the Sliding Doors

Filed under: Building - Cabin — tomlarkin @ 12:15 pm

I’ve been asked by a number of people how I hung the doors. There’s no standard way to do this, and I spent a lot of time trying to figure this detail out. I initially hung them from ball-bearing cars and track made for small racing sailboats, but they slid too easily and I was concerned that they would be out of control in bad weather. I couldn’t figure out a method to reliably dampen the movement. When I first tried the method below, they were too hard to open – the sliders stuck. I was ready to give up on the idea, but when I greased the sliders a little, they worked perfectly – not too easy, and not too hard to open.

Top Sliders

This method is really simple, and way more low-tech than all the other ideas I had, but the doors work really well so far.

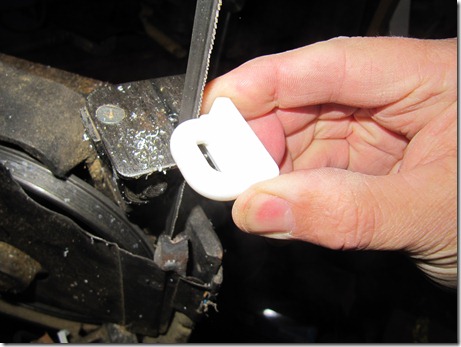
7/8 inch sail track and nylon sail slugs:
IMG_0533

Cut the loop off:
IMG_0535 

Drill and countersink a slightly oversized hole with a 7/32 drill bit (the countersink goes on the other side):
IMG_0539

Screw to the top of the door with a little gap. I used 3 inch stainless deck screws. The slider was loose after being attached – that is, it was free to twist and move a little. I hoped this movement would let it ‘float’ a bit in the track if things were a little out of square.  I could adjust the height of the doors just by turning the screw.
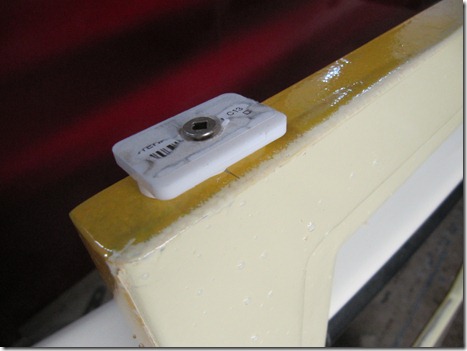
IMG_0543

Grease the track!
IMG_0549

Bottom Track

Hanging the doors is half of the battle – they can’t be allowed to swing out on the bottom.  The doors have a 3/4 wide x 1 1/2 inch deep slot along the bottom, created by running the 1/4 inch outer plywood laminations longer than the core piece (door construction details below).

I made these bottom tracks out of 1/2 inch plastic ‘King Starboard’ because it’s slippery and weatherproof. The tracks are made a bit short to allow water to run out the ends.  They’re just screwed onto the side of the pilothouse at about the right height.
IMG_0547 

The doors hang over the track.
IMG_0552


Locking the doors

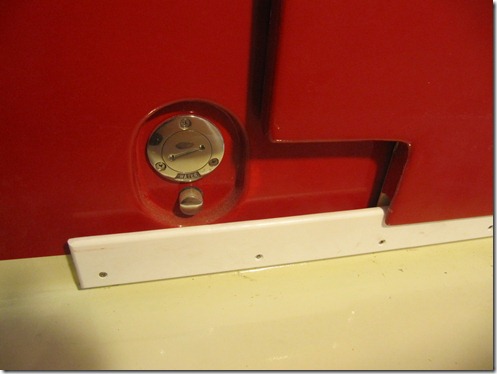
The Port door is the main entry door. It locks with a padlock through a bronze hasp. I made the hasp from 1/8 inch plate, mortised into the door before glassing. It goes through a slot in the door cowling. It’s not real elegant, but it is bulletproof. I made sure this door could slide back an extra three inches so the hasp didn’t protrude into the opening where people would be sure to run into it.
IMG_0540

The Starboard door  locks with this slide bolt. You need to latch it from the inside. The bolt has an anti-rattle slider. The second hole shown lets you open the door a few inches for ventilation, but still be secure.
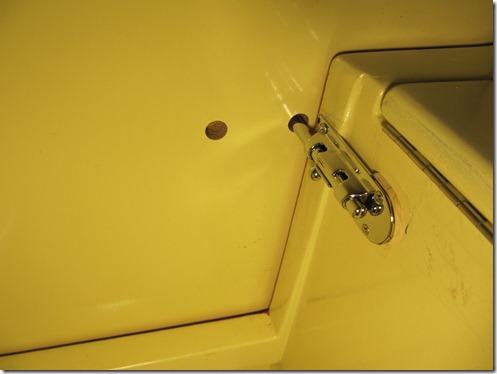
IMG_0764

Making the Doors

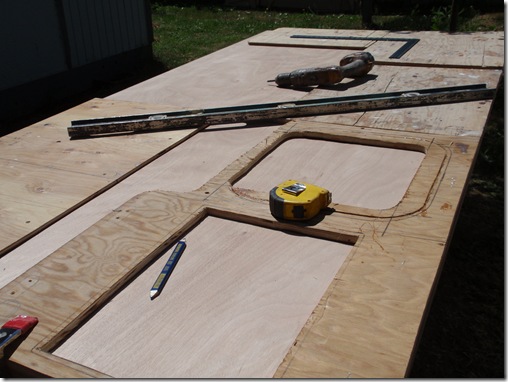
I made the doors from the original pieces I cut out when I made the pilothouse. First, I drew all the windows and doors on the framed-in pilothouse, then cut out the windows. Then I cut out the doors. In this picture, all the widows are cut, and the Port door is cut out. I saved the doors flat so they wouldn’t warp.
P8090147

I don’t have many pictures of making the doors, but basically, I made the 1/4 inch outer skins 1 1/2 inches larger than the cutouts in all dimensions and added 1 x 2 strips to the edges and top of the 3/4 inch core before gluing the layers together. This made the doors 3 inches wider than the cutout and three inches higher. Not adding a bottom 1 x 2 created the slot at the bottom for the bottom track described above.
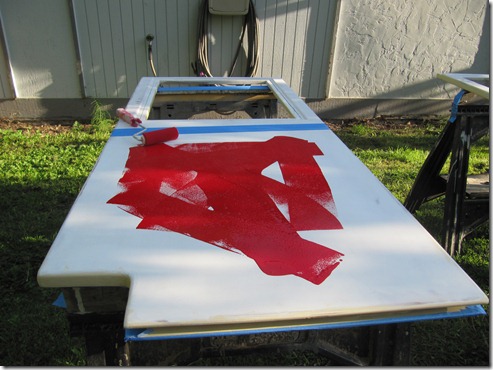
IMG_0519

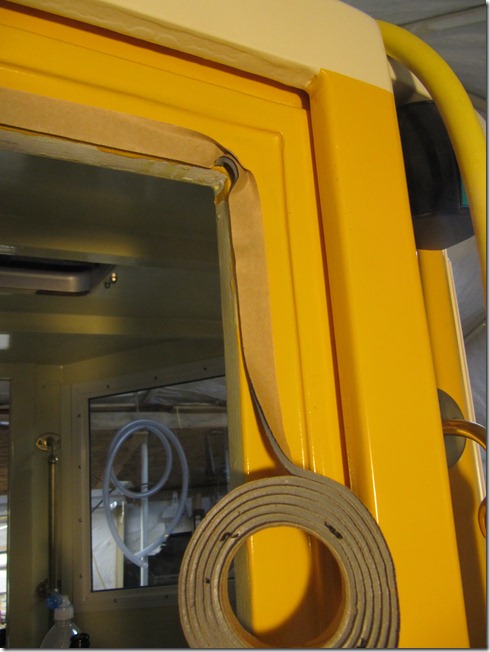
I made the 1/4 plywood window cutouts oversized so the windows would be attached to the 3/4 inch part as they were designed. This also made the inside of the window inset by 1/4 inch so it would have enough room to slide past the fixed window.
IMG_0557

April 29, 2010

Motor Mounting

Filed under: Building - Cabin, Hardware — tomlarkin @ 10:38 am

Three years ago when I was designing the outboard motor area I used my Honda 45 HP as a model. I made a full-size copy of the motor out of foam and designed the space around that. Since then I decided to use a larger motor – the Honda 60, which is the same motor as the 50 HP, but modified to put out more power. My thought being that a 50 horse motor should probably be about the same size as a 45 horse motor. Not exactly.

The new motor is quite a bit deeper fore and aft, and wider than the old motor. I made the well 18 inches wide, which is almost 4 inches wider than the old motor needed. The new motor only swung about 25 degrees before hitting the sides. It’s supposed to swing 30 degrees. I’m guessing this is a bad thing.  To be honest, I kind of planned for this way back when I was building this area – I assembled the sides of the well without fasteners in case I had to cut them down, which is exactly what I’m doing now.

So far I’ve cut out the starboard side so the motor will swing 29 degrees. I’ll finish the cutout this weekend so it will get all the way to 30 degrees, and then do the other side. I was really concerned that I’d end up cutting through the side into the space under the sole, but it looks like I’m safe from that. The finished area is going to look kind of, um, interesting, but I think it should work OK.

Here’s the area we’re talking about. The motor is in the neutral position in this picture. I bought the big plastic protractor and am marking the angles on the blue tape.
IMG_0429

The starboard-side cutout so far. I’ve removed a lot of wood, but it’s not structural.
IMG_0433

And the motor nested into the cutout. At this point it can swing 29 degrees – just a little more to remove to hit 30 degrees.:
IMG_0434

More Finishing Stuff

Filed under: Building - Cabin — tomlarkin @ 9:43 am

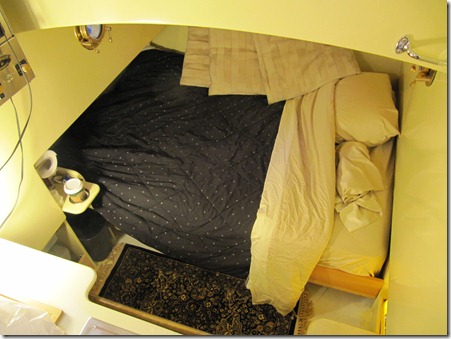
Continuing to fit out the interior.  We’re going to spend the night in the boat this weekend. Kind of like camping out in the back yard! The mattress is a standard double, with a very stiff wire frame. It was pretty painful trying to shoehorn it in through the door and into place. I have a ‘GoldenRod’ heater in the space under the mattress to keep it nice and dry.

This little table is at the foot of the bed:
table

Installed the mattress and bedding, and a cute little Persian rug:
bed

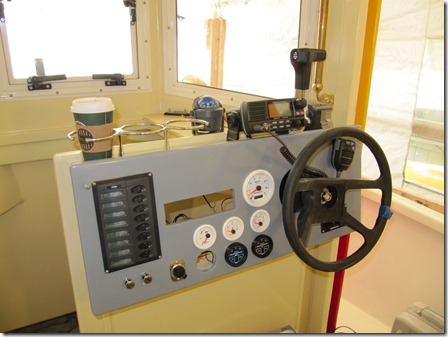
Reinstalling the DC electrical after painting the dash:
dash

Under the sink. Fresh water tank and pump. Main DC switch:
hoses

April 18, 2010

A New View

Filed under: Building - Cabin — tomlarkin @ 11:49 am

I had to dismantle the street side of the boatbuilding tent to get the motor in. This allowed me to stand back further than usual to take a picture. Looks good!  That’s the motor box in the lower right of the picture.

IMG_0398

February 22, 2010

Night View With Port Light

Filed under: Building - Cabin, Building - Painting — tomlarkin @ 1:28 pm

Port Light

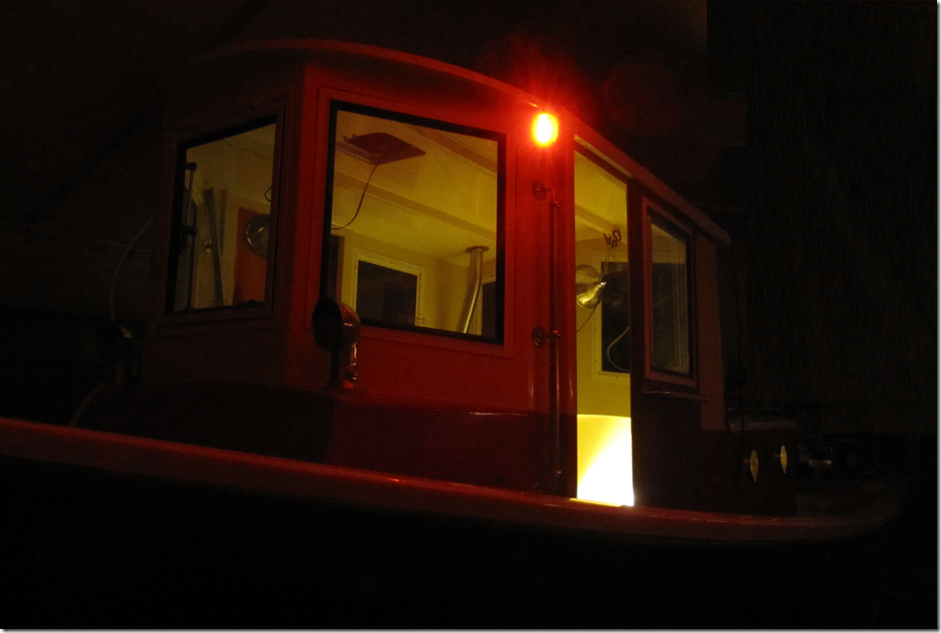
I like this picture. The Port navigation light throws a soft glow through a cloud of cigar smoke. I sat in the boat in the dark and listened to music and enjoyed a cigar and a beer. It’s about the first time I could easily imagine being on the water.

January 25, 2010

110-Volt Wiring and Sliding Doors

Filed under: Building - Cabin, Building - Electric & Plumbing — tomlarkin @ 12:29 pm

After a few weeks off I’m now working on the sliding doors and the 110 volt wiring. This wiring is pretty basic – three GFI’d duplex outlets and the battery charger. I’m running all the high voltage wiring in plastic conduit, most of which is installed now.

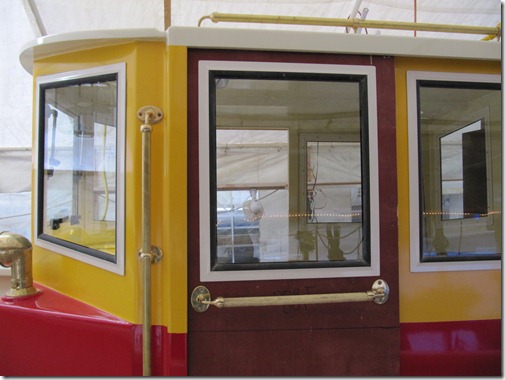
The sliding doors are coming along, but slowly. There’s a lot of work to make them. They’re 3/4 ply with 1/4-inch ply laminated on either side.  Here’s a mockup of a door, complete with window and handrail. It’s hanging from a plastic slug in a stainless sail track. There is too much resistance with this system, so I’m going to try a ball-bearing slider instead.
Sliding door mockup installed

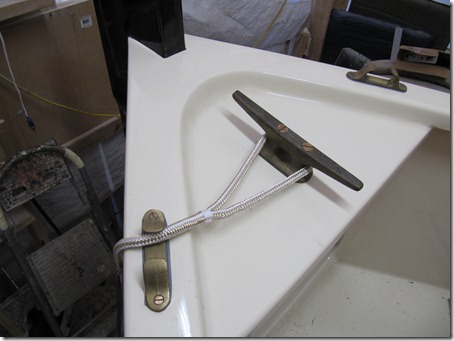
I installed the bronze bow cleat today. I decided not to use the stainless bit I bought. It just seemed like overkill. The cleat uses 2 1/2 inch bronze bolts, through 1 1/2 inches of marine plywood, and a doubled 1/8 inch bronze backing plate. It should be strong enough 😉
IMG_0303  IMG_0304
Cleat backing plates

Conduit for 110 volt wiring is mostly installed.
Conduit and junction box below 110 volt panel
Conduit to battery charger and outlets

November 30, 2009

Jewelry

Filed under: Building - Cabin, Hardware — tomlarkin @ 7:27 am

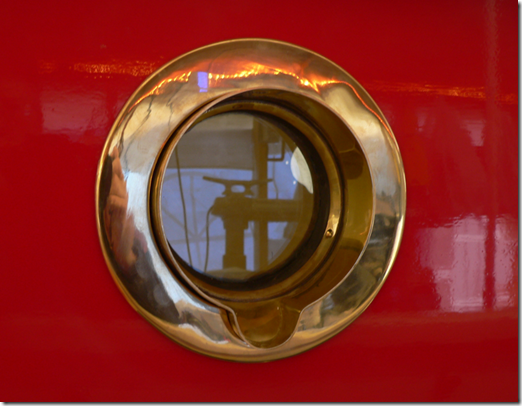
The first porthole:
image

Inside:
image 

Cabin-top handrails:
 image

All the parts are coming together:
image

September 6, 2009

Dashboard Mockup

Filed under: Building - Cabin, Building - Interior — tomlarkin @ 9:14 pm

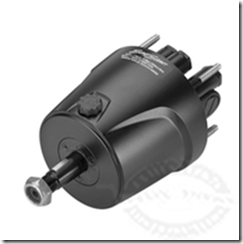
It’s been too rainy and humid to paint so I spent yesterday working on the dashboard design. I went ahead and bought the hydraulic steering (as opposed to mechanical) so I can add an autopilot later on if I want.    It’s a really beautiful piece of engineering. The fluid pumps are built into the steering wheel post.  Fisheries has a cutaway model – the steering mechanism has a canted plate that pushes a series of small pumps as the wheel turns. The downside is that it’s three inches deeper than I had planned for. Space between the seats and the wheel is already very tight.  It’s hard to see in the picture below, but I inset the mount 2 inches into the dash to reclaim some of the space.  This is actually my third dash mockup.  It’s hard to figure out the design until I have the actual parts that will be installed. The only things I still don’t have are the motor parts – shifter/throttle, and the engine gauges.  The navigation console will mount above the dash so I don’t need it yet.

Teleflex hydraulic steering post  Dashboard

July 4, 2009

Exactly One Year Over Schedule!

Filed under: Building - Cabin, Building - Interior — tomlarkin @ 10:50 am

I promised I would have the boat in the water last 4th of July. Then I promised this 4th of July.  Oy.  Lately I’ve been hoping for early September so I could boat to the Wooden Boat Festival in Port Townsend, but it doesn’t look like that will happen. Maybe I can be a Christmas Ship instead 🙂

On the plus side, I’m pretty much done with construction except for the sliding doors. Now it’s a lot more sanding, priming and painting.

Galley is coming together:
Galley

I cut up my last sheet of 3/4 ply today – pilothouse sole, galley counter, and helm seat supports. Having full-size patterns let me lay out the pieces to minimize waste.
Cutting with patterns

April 8, 2009

Forepeak Work

Filed under: Building - Cabin, Building - Interior — tomlarkin @ 1:17 pm

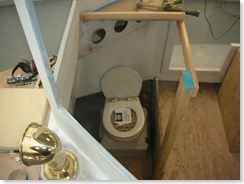
I’m working on the interior, starting with the forepeak. The forepeak will have a small berth, some storage lockers, and the head. This is also where the shore power comes into the boat.  The space is pretty small because of the walk-around deck ahead of the cabin. I wish I had moved the forward bulkhead forward a few inches. In fact, the space is so small that I inset the toilet paper holder and the 110-volt shore power panel into the locker just forward of the cabin. Mounting the toilet paper holder on the surface stuck out too far. I’ll take some pictures when that is more finished.

Head mockup – there will be a single step down to the head level from the pilothouse sole.
Head in place temporarily 

Forepeak construction – since this space is so hard to get to anyway, I’m making it into a waterproof compartment with 2 inspection ports. The berth flats are glassed in solidly, adding strength along the whole bow area right at the waterline.
Support structure for watertight compartment   Forward flats

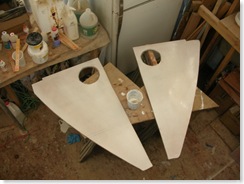
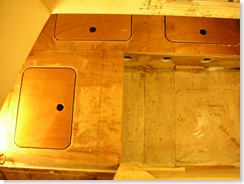
Here the forward flats have been glassed in place and the lockers are being fabricated. The round holes are for ventilation. The visible holes will have stainless vent covers to make them pretty.  Again, the supports and flats were filleted and heavily glassed, adding a lot of strength in this area.

Locker structure  Locker flats being epoxy-coated on the underside  Locker flats installed  Locker flats with cutouts replaced

New tool – I replaced my old router with this laminate trimmer. It’s so much nicer. It’s easier to work with and fits into small spaces. I haven’t pulled out the router once since I bought this.
Ridgid laminate trimmer

Older Posts »